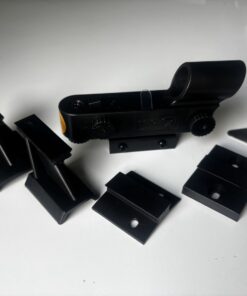
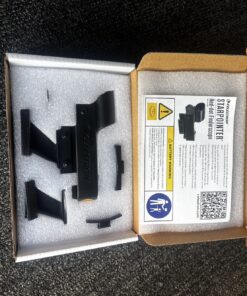
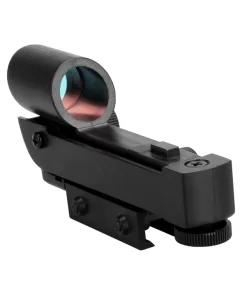
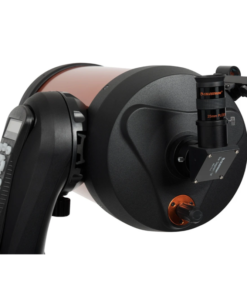
STARPOINTER FINDERSCOPE กล้องเล็งแบบจุดแดง
Original price was: ฿2,590.00.฿1,200.00Current price is: ฿1,200.00.
มีสินค้าอยู่
- The StarPointer Finderscope adds “point and look” functionality to any telescope!
- This red dot finder keeps the sky right-side up, matching what you see with your unaided eyes
- The adjustable red dot is bright enough to see day or night
- Attaches to just about any telescope thanks to the small footprint, even works great with astronomical binoculars and spotting scopes
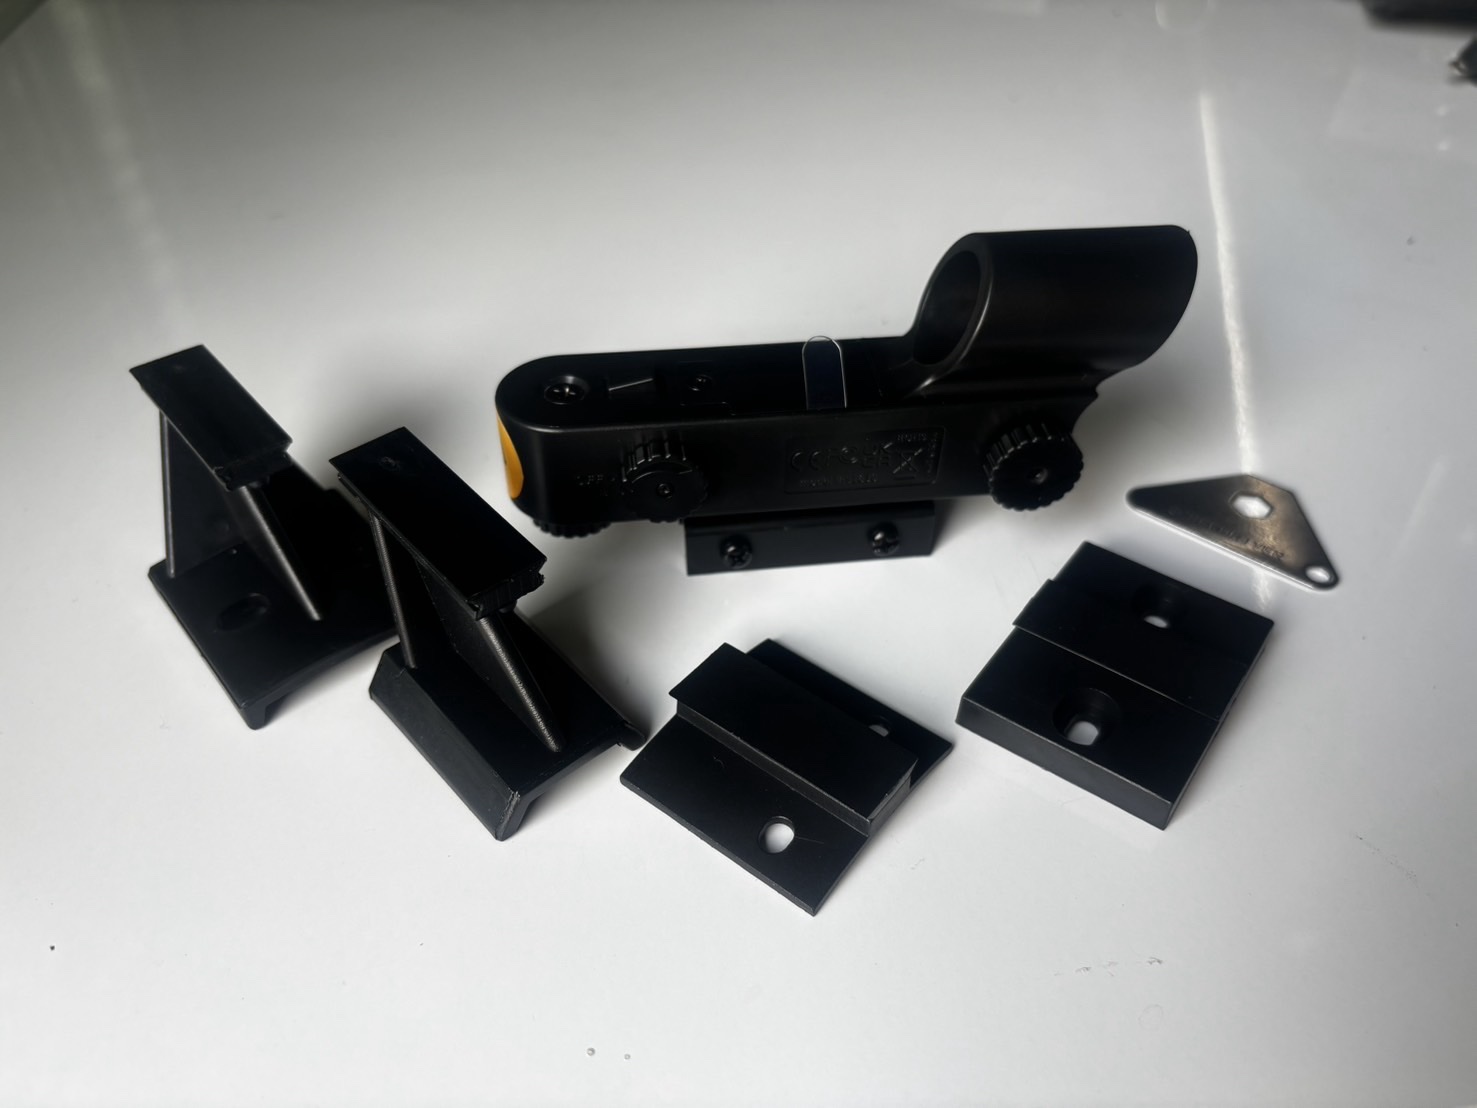
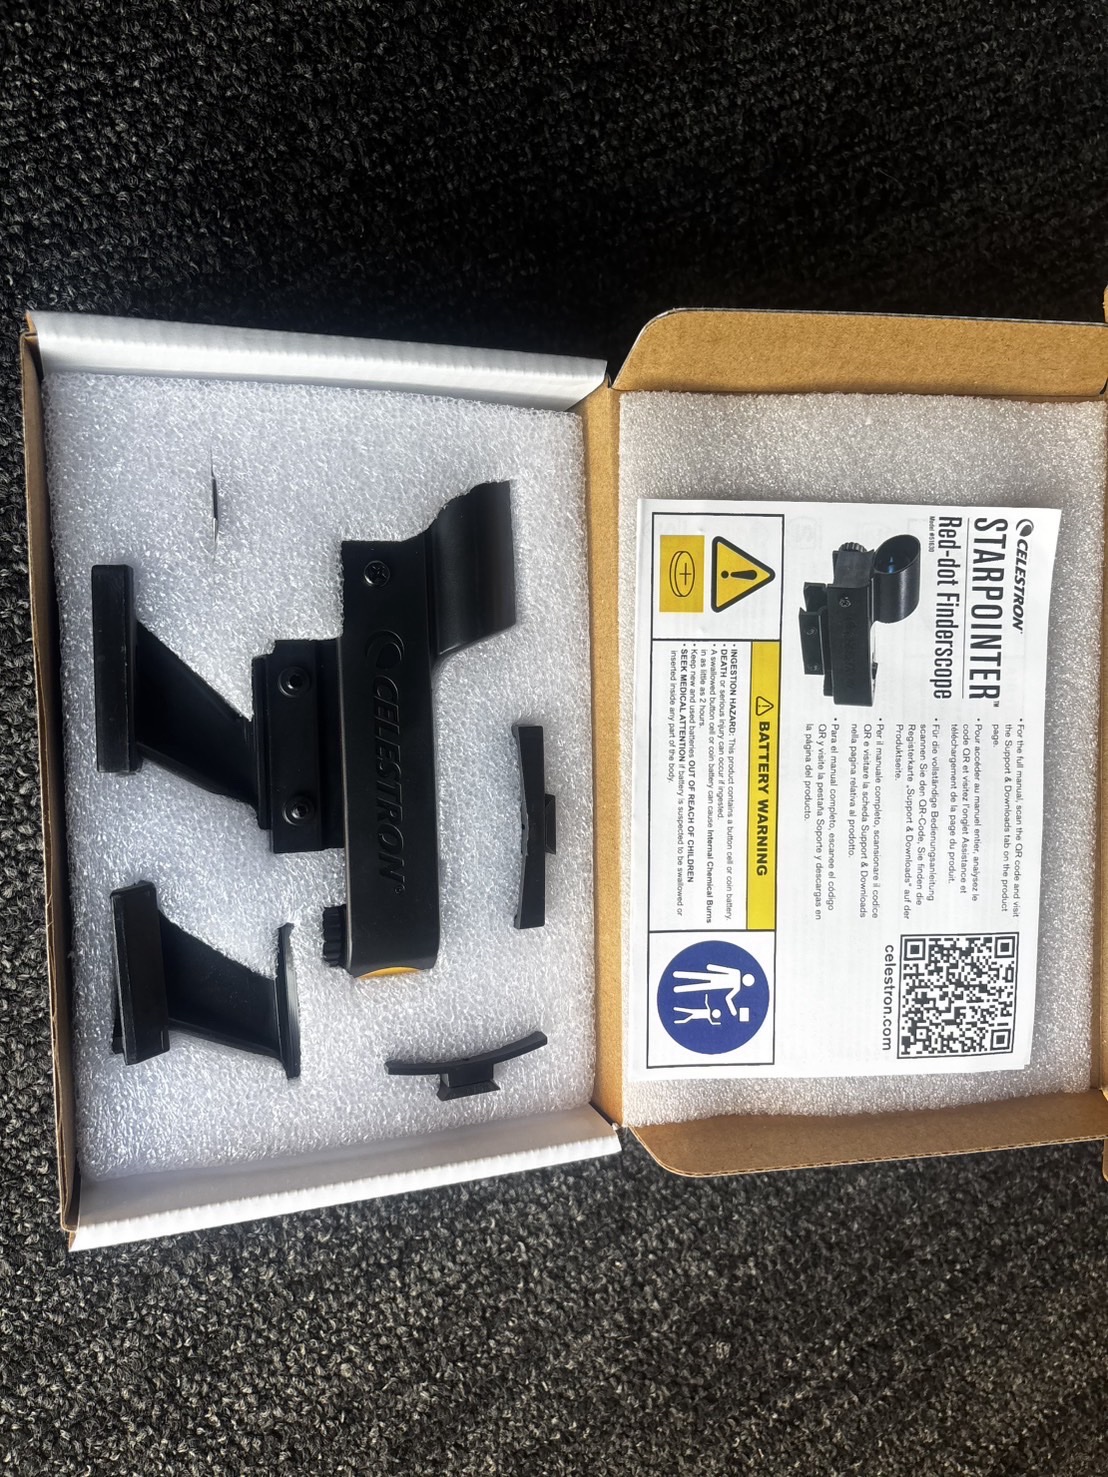
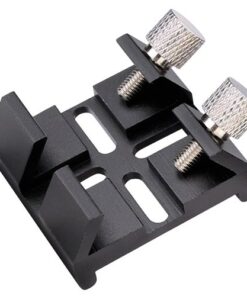
- Includes mounting base and a long-lasting CR2032 3V battery
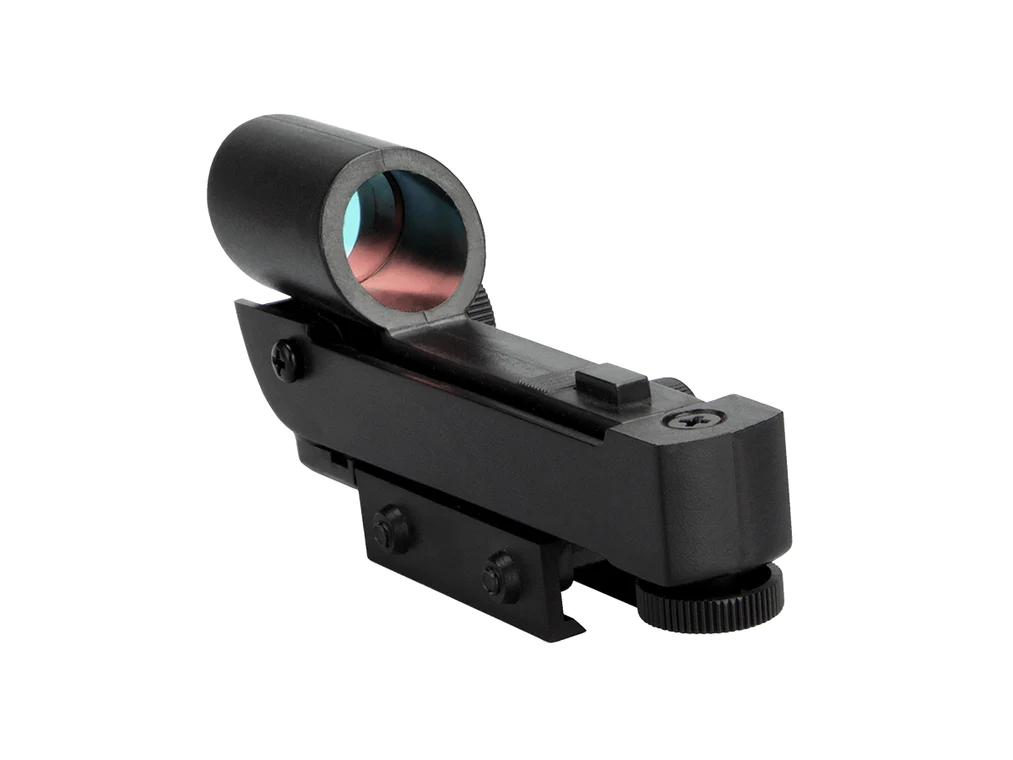
The Celestron StarPointer Finderscope is the way to go if you want the easiest way possible to locate an object and center it in your eyepiece.
A red dot finder, unlike an optical finder, has 1x magnification, displays a super wide field of view, and keeps the sky right side up and left-to-right correct, matching what you see with your unaided eyes. An LED creates a red dot, superimposed on a viewing screen, so you simply point the StarPointer to the area or object you wish to observe, look through your eyepiece, and if properly aligned, the area in and around place you pointed the red dot will be centered in the field of view.
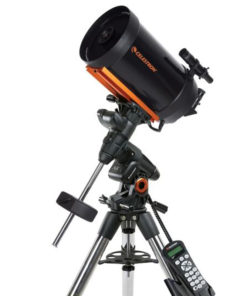
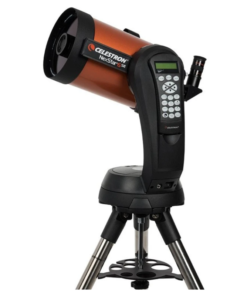
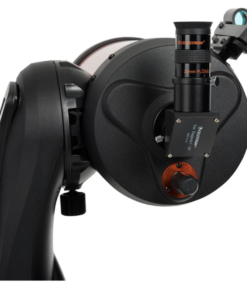
If you like the idea of having some magnification, try installing both a red dot and optical finder on your telescope. Schmidt-Cassegrain and EdgeHD telescopes have multiple mounting bracket holes so you can get the best of both worlds. Just make sure to align both of them correctly, and you’ll get the best use out of each of your finders.
How to Align the StarPointer Finderscope
The first time you use your finder, you need to align it. This one-time setup procedure should be done during the day. Take the telescope outside and find an easily recognizable object, such as a streetlight, car license plate, or tall tree. The object should be as far away as possible, but at least a quarter mile away. Move the telescope left and right or up and down so that it is roughly pointing at the object. Look through the telescope using your low power eyepiece and move the telescope until the object you chose lies in the center of the view. Once the object is centered in your eyepiece, turn on the red dot. With your head positioned about a foot behind the finder, look through the round lens of the finder and locate the red dot. Without moving the telescope, use the two adjustment knobs located on the side and underneath the finder. One controls the left-right motion of the dot. The other controls the up-down motion of the dot. Adjust both of these until the red dot appears over the same object you are observing in the eyepiece.
Your finder is now aligned and should not require realignment unless it is bumped or dropped. You can even take the finder off the telescope and reattach it while preserving alignment.
| GENERAL | |
|---|---|
| Lens Diameter: | 23mm (.90″) |
| Battery: | 1x CR2032 (included) |
| Mounting Brackets Included: | (1) Large Schmidt-Cassegrain (1) Small Schmidt-Cassegrain (1) Small Telescope with dovetail mount (attached to finder in package) (1) Small telescope with holes |
| Additional Accessories: | (1) Multi-tool (metal) |
| Dimensions: | 127mm x 31.75mm x 60.32mm (5.00″ x 1.25″ x 2.375″) |
| Weight: | 6.4 oz (1.81 kg) |
| Solar Warning |
A:
The red dot “ON” button/knob is a rheostat (or dimmer). When you turn it on and do not rotate at least 15° past the “ON” position, the light may not be visible. Make sure to turn the knob to at least 30° past “ON” and give the light 1 second to turn on. If it still does not work, it may be a battery connection issue. (See below.)
| MANUALS: |
|---|
| StarPointer Finderscope Manual |
| OTHER PRODUCT FILES: |
| How to Align a Red Dot Finder to Your Telescope Video |
| Solar Safety Warning |
